How To: Shabby Chic Bedroom Refurbishment
May 04, 2016
So you’ve secured your dream home (hopefully thanks to your KMG Hawaiifamily!) The question now is, what to do with it! Interior decorators can get pricey, and buying brand-new furniture to outfit your new home can get even pricier. Not to worry! Today, we’re here to share one of the many D-I-Y projects we’ve undertaken to make our beautiful new home in California feel like a sunny-San Diego staycation, all year round!
When tasked with designing the layout for our guest bedroom, we considered a number for the space. While we landed on the latter option, we didn’t stop there! After purchasing a gently-used bed frame and nightstand set on Craigslist for $550, we got to work right away on the transition from San Diego-shabby to San Diego-chic.
Check out the following tutorial to see how we did it!
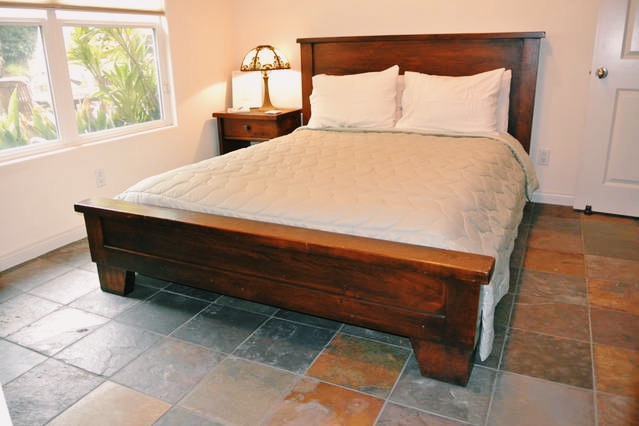
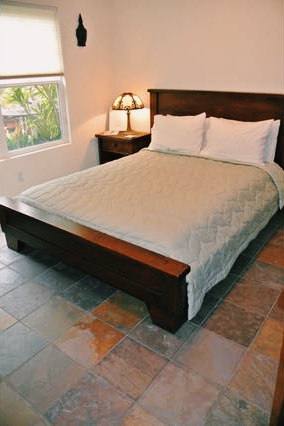
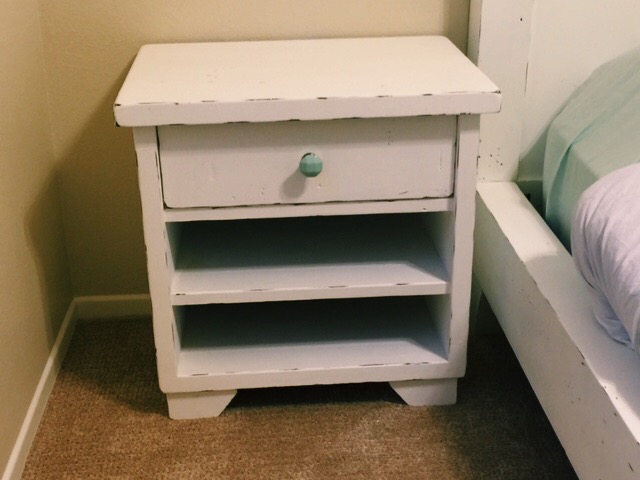
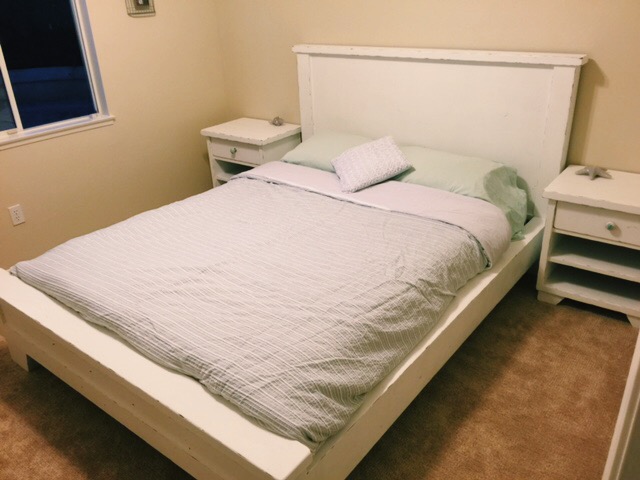
Step 1: Find your furniture. In this case, we had a beautiful wooden bed frame and side table set that needed a little love and a modern touch.
Step 2: Wipe down the furniture completely, until it is free of any dust, dirt, and grime. This way, your refurbishment process will be clean and easy! Make sure you have a designated space to paint the pieces--it might get messy!--and to allow them to dry.
Step 3: Prime your pieces. We used a matte grey primer to cover up the deep wooden tones of the bed and tables, and to prep the pieces for paint. This way, your paint will go on smoothly solid coat of primer, allow them to dry thoroughly.
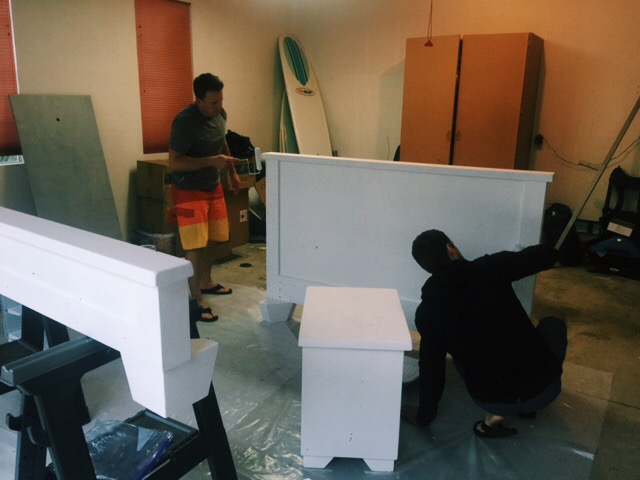
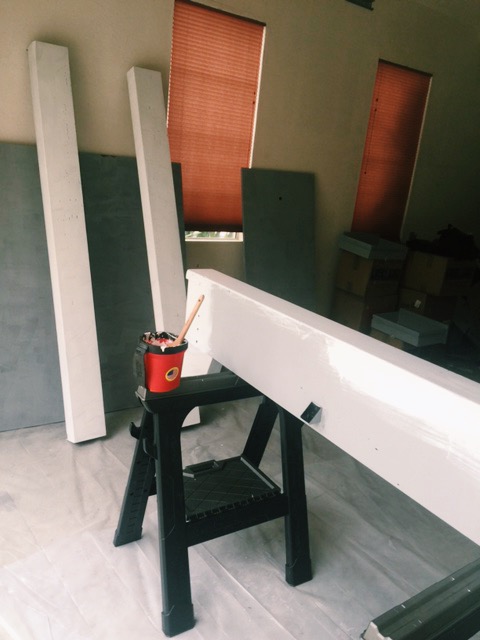
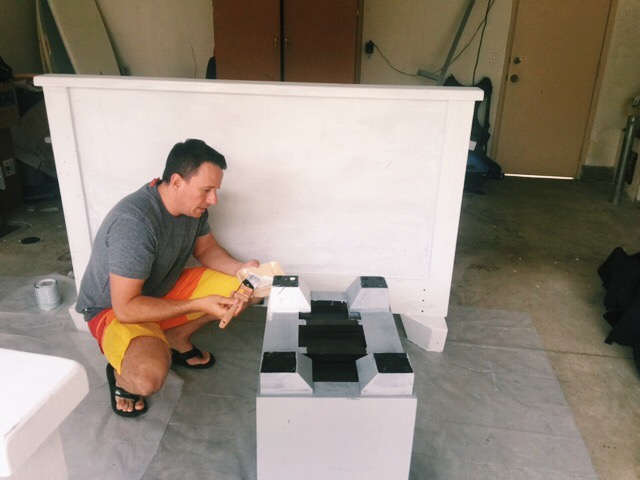
Step 4: Time for paint! After priming your pieces, you’re going to want to have paint brushes and your choice of paint at the ready. For this project, we used Annie Sloan’s white chalk paint ($13), an awesome alternative to regular paints. It has a unique matte-gloss finish, and dries super quickly--which is always a plus. Paint as many coats as desired, and leave to dry.
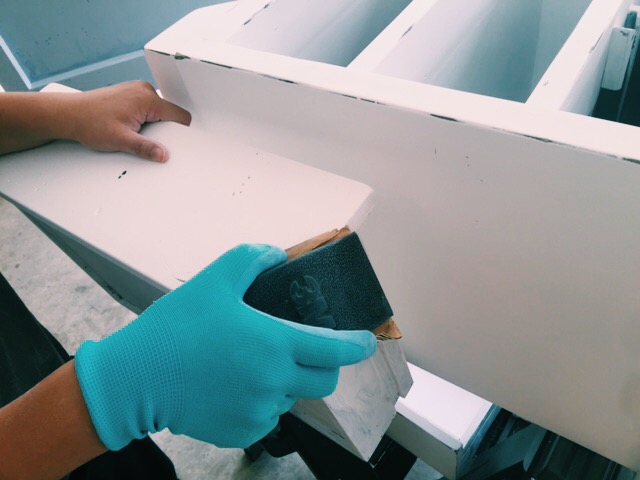
Step 5: After your paint has dried, it’s time to sand it down. Gently use sandpaper or a sander to smooth the surface of your furniture.
Step 6: Time for the fun part! To give your pieces a unique, aged, shabby-chic look, take a rougher piece of sandpaper to the edges and corners of your furniture. The great part about this step is the ability to make it as worn as you’d like, or to just add a little bit of texture to make your pieces special.
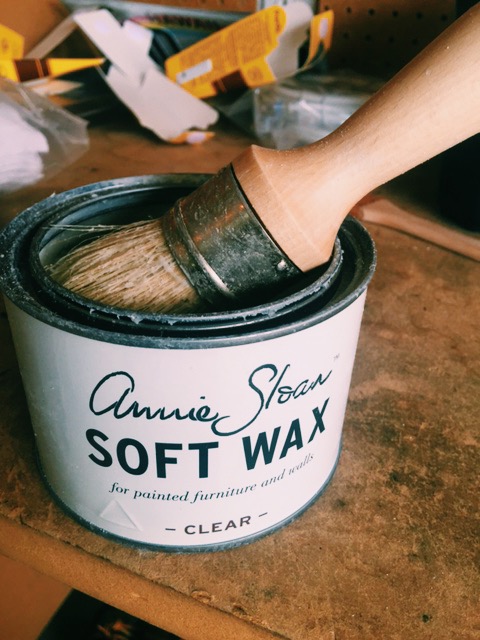
Step 7: After you’re happy with the amount of wear on your pieces, use a soft wax to smooth over the look of the furniture and protect against chips in your paint. For this project, we used Annie Sloan Soft Wax ($25) to top off the bed and nightstands with a soft, textured look. Paint a solid coat over all painted areas, and leave to dry.
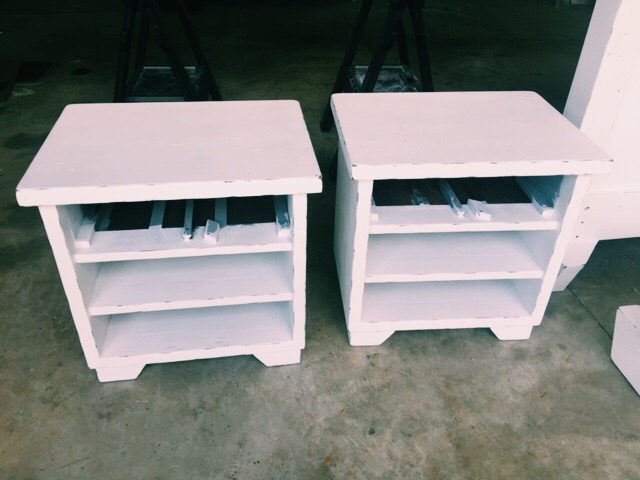
Step 8: That’s about it! Once your pieces have dried post-wax, assemble them accordingly to finalize your awesome refurbishment. Check out our finalized pieces below! We hope you enjoyed this quick tutorial on how to easily flip a worn out bed frame into a unique piece that will make your new home shine!
-The Team at KMG Hawaii